Tuesday, May 26, 2015

Really? Week Six Already?

Here are this week's women:


This first piece is collage and acrylic paint on canvas. She is my very first acrylic painted lady. The collage material was pretty napkins. I separated the 2 layers of the napkin and affixed the printed piece to canvas with acrylic medium.


This lady needs little introduction. She was the basis of Thursday's tutorial. (If you missed it, check out last week's post.

Love this lady with her calm in the midst of happy chaos (something I endeavor to mimic). She is done with Derwent Inktense pencils and Sharpie Paint pens.


These 2 pages were done as a demo at the Whatcom Art Guild Spring Art Show this past weekend. Collage and acrylic paint and embroidery. The lady with the leaves for hair was embroidered onto a fabric softener sheet and affixed to the page with acrylic medium. The crowned lady was a hand-cut stamp created from a photograph of my then 3 year old God-daughter, Kira. Here she is stamped onto the page using acrylic paints.

I hope to use new techniques this week. And I hope you dare to try new things this week as well. Be sure to check back on Thursday for the 2nd Tutorial Thursday.

And in the meantime, remember I believe in you more than you know. You are strong, creative and worthy of all good things today. Truly.

And I love you. Bunches.

Thursday, May 21, 2015

Tutorial Thursday - Draw a Whimsical Face

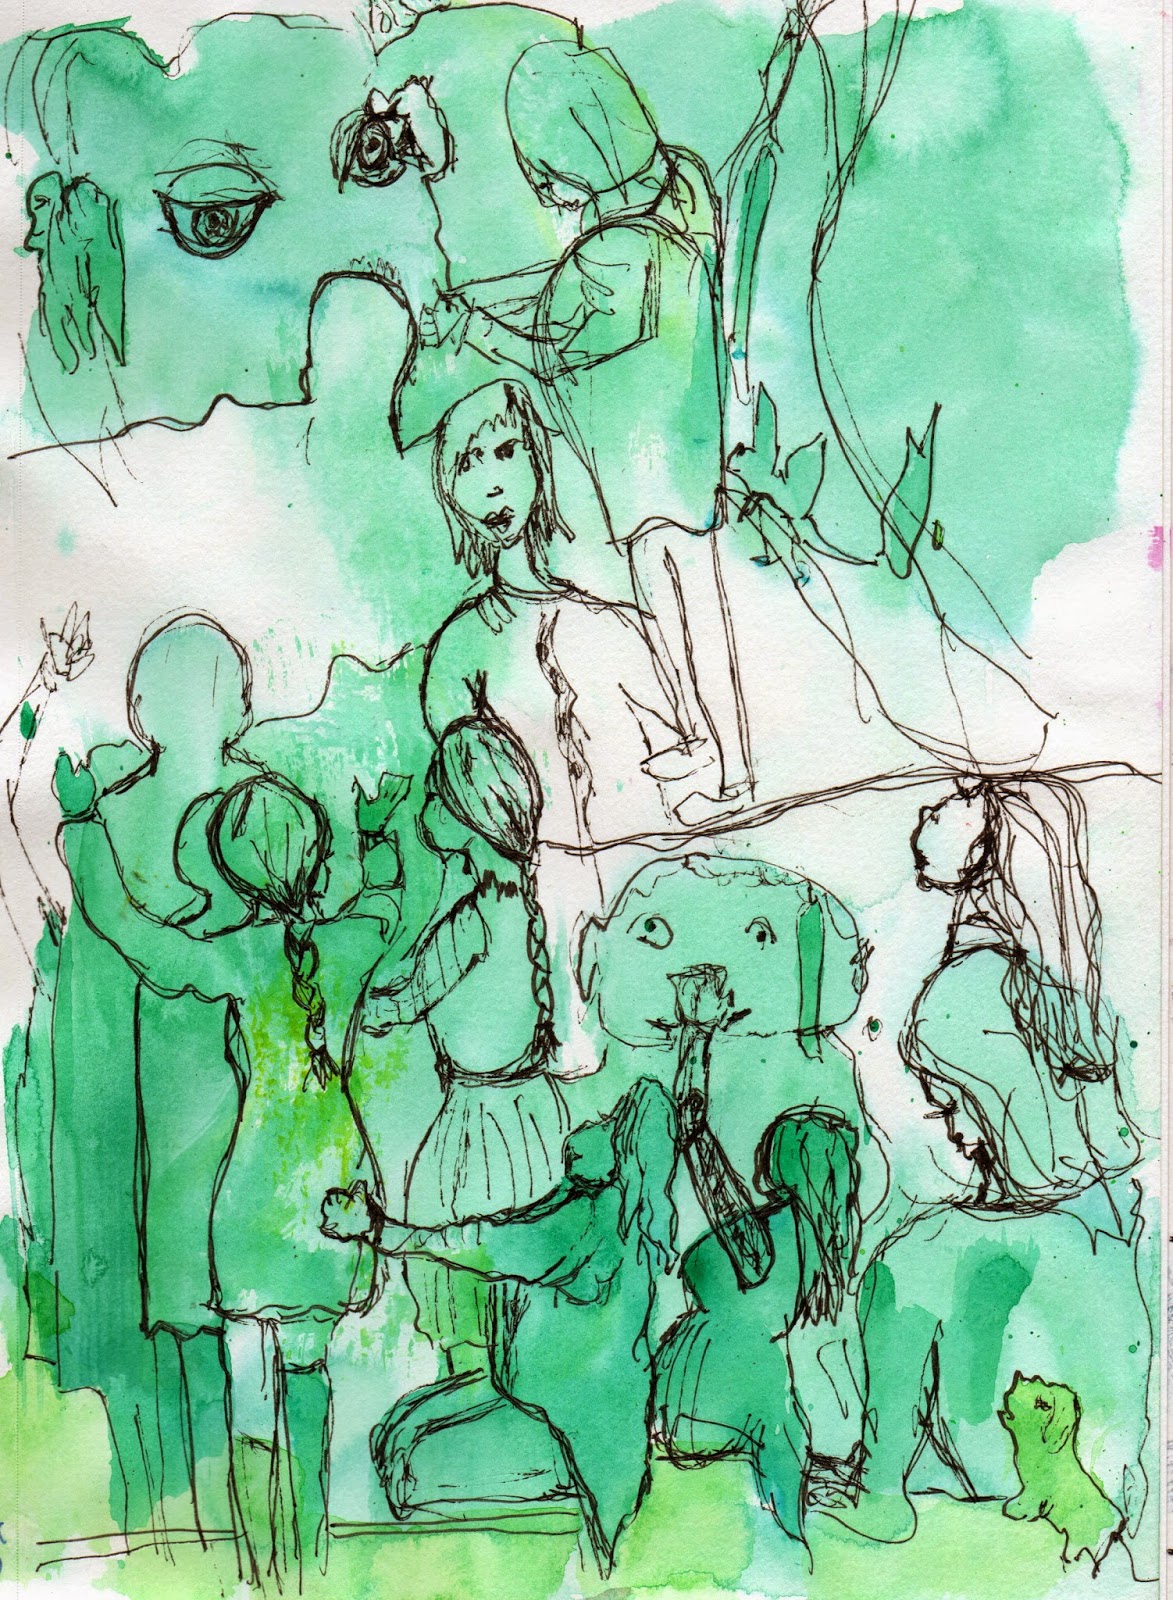
Today's post is for those of you who have asked me (and those who wanted to ask but didn't) how to draw a face. Anyone can do this. I promise. Simply follow the instructions below and you will surprise yourself (and you might have a little fun with the process.)

Step 1: Draw an egg-like oval shape. Draw it loosely, as this looks more natural.
Step 2:  Divide the oval in half from top to bottom. Then divide it in half again from side to side. My oval's horizontal line is a little bit high, but you get the idea.

Step 3: Draw the upper eye sockets (like frowns) along the center horizontal line, being sure to leave one full eye space between them. Divide the bottom of the oval in half again. On this line draw the nose (like a smile) as show below. 


Step 4: Divide the bottom of the oval between the nose and the chin in half again. This is where you draw the lips. The upper and lower lips are drawn separately. they do not connect unless you are looking for a Joker smile. The upper side has a small scoop in the center of the top. Feel your upper lip where it meets your lower lip. It goes down slightly in the center. Next draw the bottom of the lower lip with another smile-like line.

Step 5: Draw the iris of the eye  with a partial circle attached to the eye socket line. If you draw a full circle, your face will look surprised. Next draw the eye lids. You guessed it, a frown-like line attached to a vertical line at the inside of the eye socket. Finally, connect the outside corners of the eye socket to the inside corners.

Step 6:  Draw the hair line (another gently curved line) about halfway between the eyes and the top of the oval. Add eye brows about halfway between the eyes and the hairline. Use short, light lines. Finally draw in the pupil. Because a sparkle in the eye gives life to your person, draw the pupil as a wide comma or a small circle with a piece out of one quarter of it. Add tiny dots or flecks around the iris as shown. You can darken the eyelids and iris at this time.


Step 7: Add a curved line connecting the eyebrow to the nose as shown. Now add half ovals for ears. The bottom edge lines usually lines up with the nose. Feel your face. You'll see.  Next draw some curved lines for the neck. The neck is made by drawing (you guessed it) a curved line. Start the line slightly under the ears, giving it a gentle curve in and then out. Add some curved lines for hair.


Step 8: Continue adding lines for hair. I got kind of scribbly here. You definitely don't have to.

And there! See? You did it! Your drawing will look different from mine, because it will be done in your perfectly unique style. I learned this simple and quick way of doing faces from the book by Jane Davenport. (You could find her on YouTube as well.)
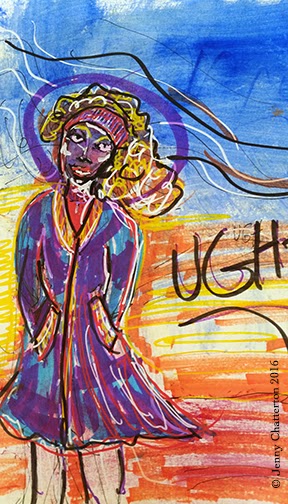
Finally, I couldn't help but splash some Inktense colors onto my face. They go on like watercolor, but once they are wet, they become permanent. Love these things and my water pens.


Here's the final face. Day 45 in my 100 Days of Making Women project.
I know you will have fun with your whimsical faces and I would love to see what you come up with. Text, email or post them on FB under this post

You are wonderful. And creative. And capable. And I love you. Bunches.

Monday, May 18, 2015

Week FIVE of 100 Days of Making

Unlike many places in the U.S. right now, the Pacific Northwest has been giving us beautiful sunny days, which call us all to be outside while it lasts. So this will be brief. I must get out there and seize this day!

Here are the women I created this week:

Micron pen over Acrylic paint

Micon pen, Sharpie paint pen, Derwent Inktense Pencils over Acrylic Paint

Micron Pen, Derwent Inktense pencils


Markers

Derwent Inktense Pencils, Micron pens

Micron pens, Sharpie Paint pens, markers, Derwent Inktense pencils

So weird that day 40 fell on my 40th wedding anniversary
Derwent Inktense pencils, micron pens over Acrylic paint


 These final sketches were done quickly over acrylic paint and even some written notes, I believe.

So dear ones, go do something you enjoy today. Don't delay. Today will soon slip from our grasp and enter our past, becoming part of our story. I look forward to hearing how you are. And how you are doing.

I love you. Bunches.

Monday, May 11, 2015

Week Four - 100 Days of Making


I amazes me that I am still creating a woman most days. In fact, today is day 35 of the challenge for me and I think I may have begun a new habit. Incredible. Of course, I don't like everything I have made. But I do like the fact that I have made them. Process and persistence, not perfection.

So here are last week's ladies:

So, dear ones, I hope you are taking time out of your busy lives to do something you love every day. It doesn't have to take hours. Just 15 minutes can change your entire day. If you need it, I give you permission to play a little. In fact, I commission you to play a little.

Because I love you. Bunches.

Thursday, May 7, 2015

Peace for Today

Art journaling or visual journaling is, for me a way to connect with myself and with my God. I find truth as I do it and am grateful for finding this practice. I have many journals filled with only words. They were helpful at the beginning of my journey. I don't always know how to verbalize my thoughts feelings, images serve me well. So for those of you who have no idea what I'm talking about, I will share my process for today's post.

 I usually start with a page that already has paint scraped or rolled or stamped or applied in some haphazard way. This mess has a variety of acrylic colors scraped on with a piece of plastic rescued
from the recycling bin expressly for that purpose.. It looks like I also added some paint via bubble wrap and then perhaps brushed on a little water. As I looked at it this morning, I asked what I could see in it. What do you see?

Then, using my faithful Micron pen (I think .08), I outlined what I could see. I use a pen most days simply because pencils can be erased and my Inner Critic insists I use it a lot. Since I have very little time to do these pages, my I.C. must be minimized as much as possible.


What I could see in this background was a a person and some circles, so I began to darken the lines. The weird thing to me is that as I go through the process of the drawing, I begin to see that this dude with sunglasses juggling. He is having to (choosing to?) keep quite a few balls in the air while trying to look cool.  A couple have gotten away from him, but he remains cool. His surroundings are chaotic as well adding to the challenge of the juggling. Keep those balls in the air... Look cool... Hm-m-m... Does that mean something to me? No comment.
Then I see the face of a woman on the other side of the page. In contrast to the juggler, she appears
calm and contemplative. She is looking away from the juggler and the chaos and as I continue to outline her shape, it occurs to me she is peaceful. Her mind is on her Source of peace. She is within an enclosure. She seems safe... She seems to me to embody Peace. Hm-m-m... Is there a message here?

So here is the final image. Peace in spite of the chaos around us. Yep. I'll take that today. 

Love you. Bunches.

Monday, May 4, 2015

Week Three of the Challenge

Here are this week's pieces for the 100 Days of Making. Again, this challenge is about showing up and doing the same thing each day for 100 days. Creating one woman each day is my task. This week had some I'd rather not claim, but that is to be expected, I suppose. Oh well...


I thought I did more this week, but I can't seem to find anything else anywhere. Oh right, progress not perfection. And I am even pleased with some of these. 

I hope you are pleased with some of your accomplishments from this past week. Don't forget that 2 steps forward and 1 step back is still forward motion for the long run. You are doing well, so be nice to yourself!

Love you. Bunches.